I don’t wear a lot of makeup, but I do like a hint of color on my lips. Heavy, waxy lipsticks aren’t my thing—they always end up on my cup rims or teeth. What I prefer is a natural tint that stays put and keeps my lips moisturized.
A lot of commercial cosmetics are full of toxins and unnatural stuff. Making your own at home means you know exactly what’s going on your lips! These ingredients aren’t just healthy—they also give you a beautiful look that matches your style and favorite color.
Here’s how you can make your own DIY lip stain:
Ingredients and Materials:
– Shea butter or coconut oil
– Beeswax
– Beet root powder and/or hibiscus powder
– Small microwave-proof glass bowl
– Bamboo skewer
– Cosmetic containers
Method:
The amount of beeswax you use will determine how firm your lip stain turns out. I usually go for equal parts beeswax and shea butter. Both are solid at room temperature, but soften when they touch your skin. If you want something less firm, you can use more coconut oil or reduce the beeswax.
Put the glass bowl in the microwave and heat it in 30-second intervals until the beeswax and shea butter melt. Stir with the bamboo skewer.
Add a good amount of beet root or hibiscus powder and keep stirring until you get the shade you want and the powder dissolves completely.
Pour the mixture into a cosmetic container and let it cool. It’s best to make these in small batches. They’ll last a few months without preservatives, thanks to the natural antibacterial properties of beeswax.
Benefits of Each Ingredient:
– Hibiscus and beet root powder are great natural colorants rich in antioxidants. They also contain folate, which helps your skin cells grow and repair.
– Beeswax soothes and conditions skin, making it perfect for chapped lips.
– Shea butter is packed with vitamins and fatty acids that nourish and moisturize skin deeply.
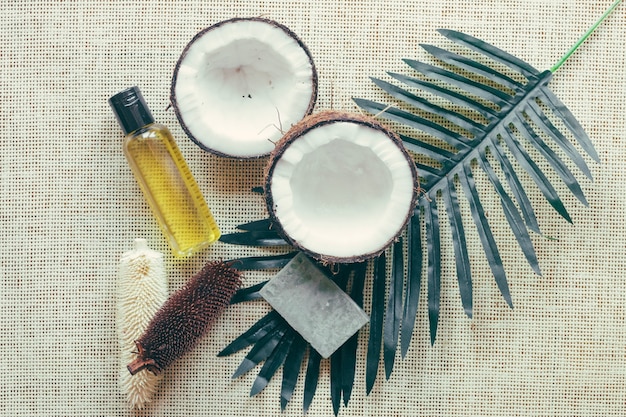
– Coconut oil is a natural moisturizer that melts as soon as it touches your skin, leaving no residue behind. It sinks into your pores for thorough hydration.
If you’re interested, you might also like our guide on making DIY natural blush for all skin tones.
